The administration software of Practique allows you to define who should have access and to which areas of the system. Groups of users can be created for easier categorisation of teams and their responsibilities.
Step-by-step guide
- Click the users icon in the top bar
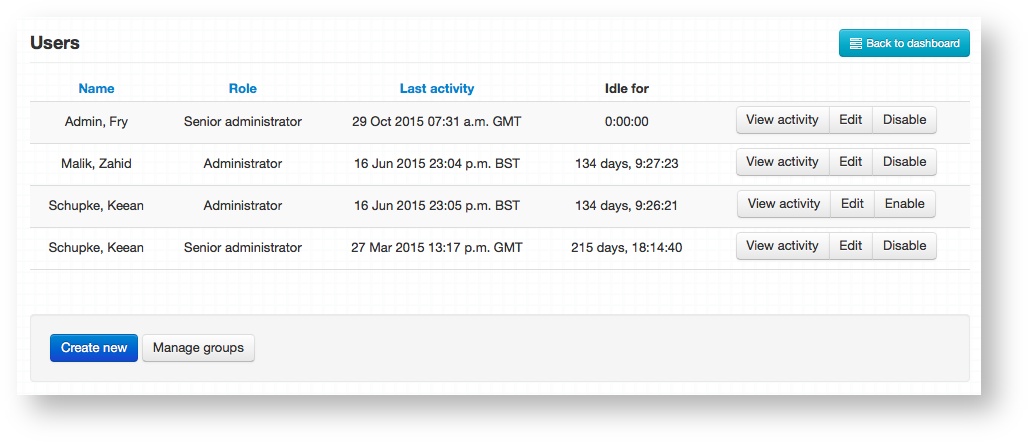
- This will take you to the list of users currently registered to access the backend of Practique as shown:
Go to the Settings menu on the top right - Select 'Practique Users'

- Here you will see the list of User accounts for Practique
- To add a new user click 'Create newnew User ' to be taken to the creation screen
 . See the creation video:
View file name uTcjCwVYzd.mp4 height 250 - Here you will need to enter a username for this person, plus their name and email address. This email address is used to send their login credentials to initially and then for sending any application notifications to in the future.
- The fields for 'Global permissions' and 'Groups' are what you use to define this user's level of access to the backend of Practique.
- 'Global permissions' contains two options:
- 'Manually assign...' which then relies on you attaching this user to a group to inherit their permissions from.
- 'Grant all permissions' which automatically grants this user all available privileges within Practique. In this case it is not necessary to attach them to a group.
- 'Groups' will display a list of the groups you have already created. To create and manage these click on Manage groups from the first Users screen to be taken to the group overview screen:

This will display a list of existing groups. Clicking Edit will let you change the permissions or name for that group, clicking View will display the users currently attached to that group. Click Create new to be taken to the group creation screen.

This is where the specific set of permissions for this group are defined and are broken down into different levels as follows:
Add - the ability to create new elements and to submit them for review. Only after review will they appear in the system to be used.
Edit - the ability to make changes to existing elements within the system. During editing the previous version of the particular element is maintained and a new version is created. The edit must be submitted for review before it appears in the system to be used.
Manage - higher level admin tasks, explained below.
Review - the ability to approve/reject submissions to the system.
View - only the ability to use each element in read-only mode.
...
- on 'Settings > Practique User Groups'