...
The following instructions outline how to create new roles and assign them to relevant permissions and restrictions.
...
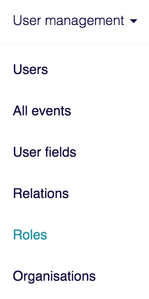
The roles page is accessed from within the user management section of the menu bar.
The following page will display a list of all the roles which exist inside the system. To create a new role click new role at the top of the page.
From here you can start to define how this role should function. Title is the name of the role which all users will see when they are assigned it.
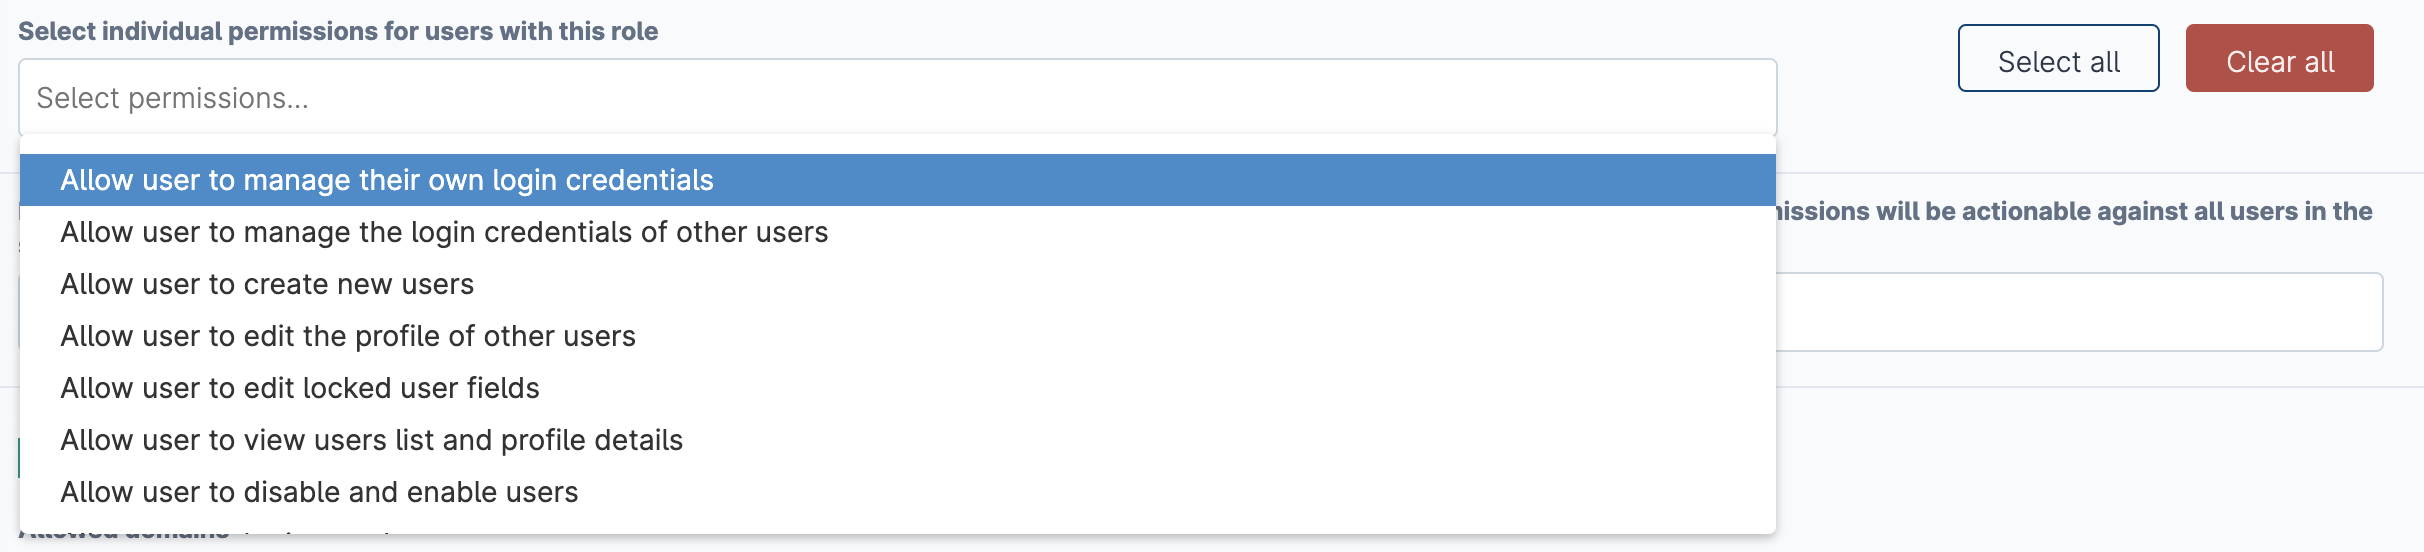
The next section asks you to select permissions to assign to this role. Clicking in the dropdown will display all available options which can be added.
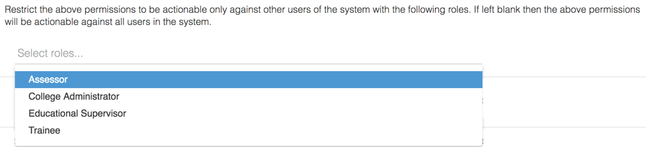
Once you have selected the permissions for this particular role the next section allows you to restrict these permissions to only be actionable against certain other roles in the system. The box here will display all of the other roles which exist in the system. Selecting any of them will mean that the current role you are editing will only have its permissions against these other roles. If nothing is selected in this role restriction box then the current role will have those permissions against all other users in the system.

The next section allows you to set whether new external users can be created through invitations sent through other users of Kaizen. By default the only way to create new users is for administrators to create a new account each time. This setting on the role page can be useful when you would like your end users to send their events on to people who may not already have an existing Kaizen account. Ticking the box shown below will mean that any event type which has a section filled in by this role can be sent to any external email address as well as an existing Kaizen user. When this new user responds to the invitation they will be asked to create a new account as part of the process.

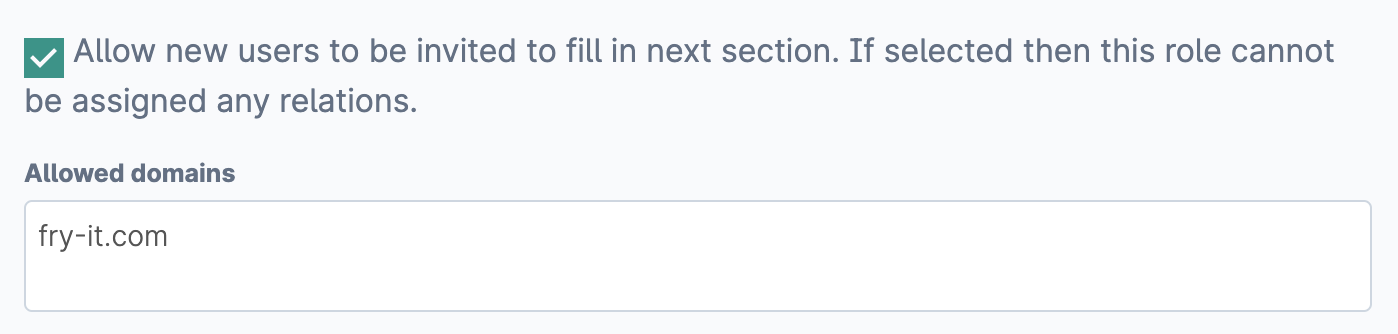
The allowed domains box enables you to limit the invitations which can be sent externally to only the domains which are listed here. When inviting someone external to respond to the next section of an event only the domain(s) specified for this role will be accepted. The allowed domains setting has no effect for users who already have an existing Kaizen account.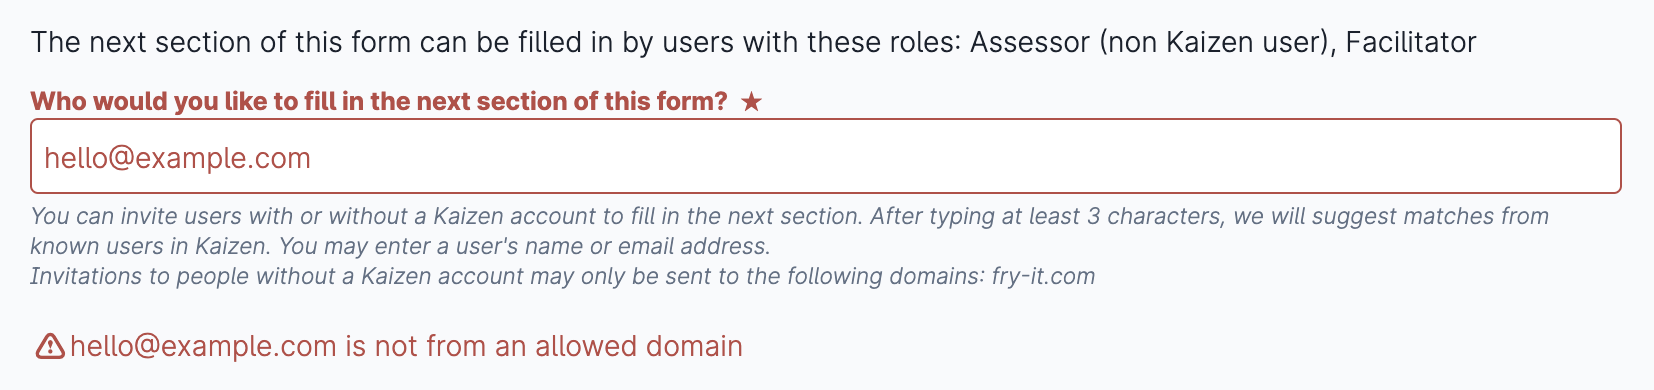
If the option to allow new users to be invited is selected then the following options relating to restriction by relations will not be available. This is because we cannot know which relation this new user should be assigned at the point of their account being created.Finally you can set whether this role should be restricted by relation. Here there are two options, the first is by relation hierarchy which when selected will display all of the relations already defined in the system, as explained here. Selecting one of these will result in this role only having the defined permissions against other users of the system who have been assigned the same relation hierarchy as them.


The permissions will only take effect against other users who have been assigned a lower level in the same hierarchy.
The second option is by a one-to-one relation as a user dependent role. Selecting this option will mean that users with this role must be explicitly (manually) linked to other users of the system before any of the permissions will take effect against them.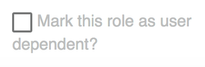
Save this role and it is now ready to be assigned to users of the system. This is done directly from the users list and can be done individually or in bulk.
...