Event types are where you define the forms that you will ask your users to complete. They allow you to create all your own fields and build in a workflow so that it can be passed through multiple users of the system before it is considered complete.
Creating a new event type
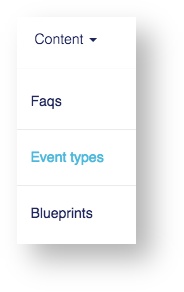
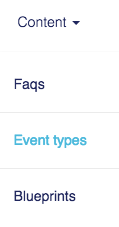
Navigate to Content → Event types from the top toolbar. If you don't see this option please talk to your organisation administrator regarding which permissions you have been assigned.
The following list displays all event types contained with the system. These are ordered into three sections: draft (orange), published (green), archived (red). Within each section the event types are ordered alphabetically.
Draft = event types currently being built which are not yet visible to users of the system.
Published = event types that can be created and submitted onto timelines by users of the system.
Archived = event types that were previously published. Users can no longer add new events of this type but all historical entries are preserved.
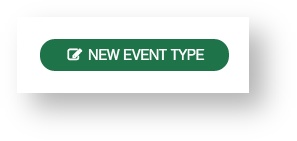
At the top of the list select the button
Newnew event type which will take you to the event properties screen.

The event properties screen will ask you to input some basic information about the event type you are creating:
Event type name - this is what all users of the system will see when selecting from the list of event types. It is also the name that will appear on timelines.
Add tags to this event - allows you to preselect from your defined blueprints. This will automatically apply any tags you select here to the event whenever a user adds this to their timeline.
This event can be owned by - select from the list of roles that you have created in the system. This determines which users' timelines this event can be added onto.
Add prefilled fields to this event - allows you to select from any of the user fields which you have created. Selecting user fields here will populate this information on the owner of the event when the event is complete and display it at the top of the form.
Specify default visibility:
Shared - this event will be visible to the owner and any other users who have permissions to view their timeline
Private - the completed event will only be visible to the owner
Owner can change visibility on individual events - this allows the owner to change the visibility of these published events, or limit them only to the default setting above.
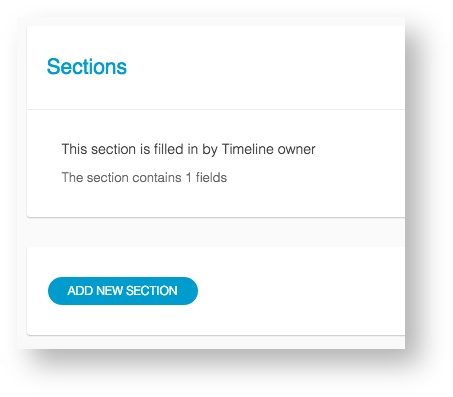
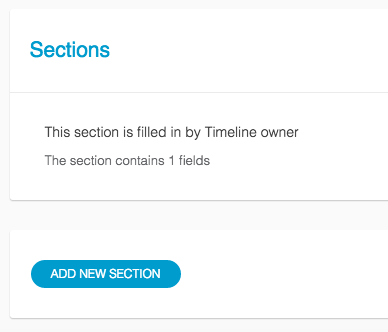
The lower section is where you define the workflow of the event using form sections, click Add new section to add a new one. The event moves through the workflow from top to bottom to different users of the system depending on which roles you set to be responsible for each one. .
Click Save at the top of the event properties screen to save this as an event type in draft status.
| Info |
|---|
The Timeline owner role is used to specify the individual who owns this event rather than one of a group of people belonging to a role. |
...
| Filter by label (Content by label) | ||||||||||||||||||||
|---|---|---|---|---|---|---|---|---|---|---|---|---|---|---|---|---|---|---|---|---|
|
| Page Properties | ||
|---|---|---|
| ||
|