Editing the layout of a profile
You will require this information when you would like to edit the layout of a profile.
Step-by-step guide to editing the layout of a profile:
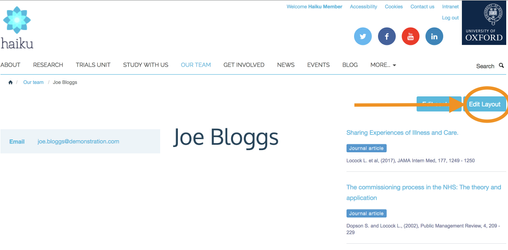
- Navigate to the profile that you would like to edit (ensure that you are logged in, and have the appropriate editing rights)
- Click on the 'Edit layout' button that is located at the top right of the profile
- This will take you to a page where you are able to add, remove and rearrange tiles
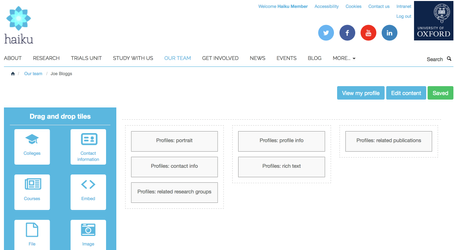
- To rearrange any of the tiles, simply drag and drop them between the columns, and into the order that you would like them to show. You can rearrange the tiles, even if they have content in them.
- To delete any of the tiles from the profile, hover over the tile you wish to delete, until you see a grey 'X' appear in the top left of the tile, when it does, click it and the tile will be removed. **Note** If you delete a tile by mistake, simply navigate away from the profile page layout edit screen without saving, and then go back to the layout edit, where you will see your changes have not been made.
- To add a new tile to any of the columns, click on the tile that you would like to place into a column, then drag and drop the tile in the location that you want it to display intially (you are able to come back and change the layout of the tiles at any point). When you pick up a tile from the selection menu on the left, the columsn to the right will be highlighted in blue, and turn grey to display which column the tile will be fitting into.
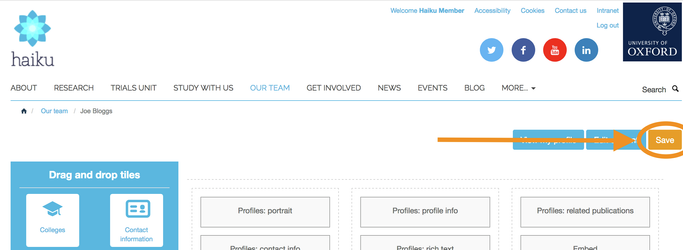
- Ensure that whenever you make changes to the layout of the profile page that you would like to save, click on the 'Save' button in the top right of the profile which will show as green if there are no changes to be saved, and amber if you have made changes that require saving for them to take effect. If you have made changes and not saved them, but try to navigate away from the page, you will be prompted by your browser to save the changes that you have made.
Related articles